Connecting One PLC End-to-End
A tutorial to connect one PLC and verify that data actually arrives. Once you succeed with one, the rest is repetition of the same procedure.
No installation required — the public demo has multiple simulators already connected, so you can follow along as-is. You can set up your actual gateway after you've walked through this.
- A configured Edge gateway → One-line installation
- IP address and port of one PLC, plus one address to read
- Network connectivity from the gateway to that PLC — if this fails, everything after it fails
There is a public demo — https://demo-edge.plantpulse.io (admin / admin123!).
The screenshots below are from this demo. Use
https://demo-platform.plantpulse.io for the upper Platform.
Each step has a short silent video.
Step 1 — Log in and change the password
Open the gateway address in your browser. The user ID is admin.
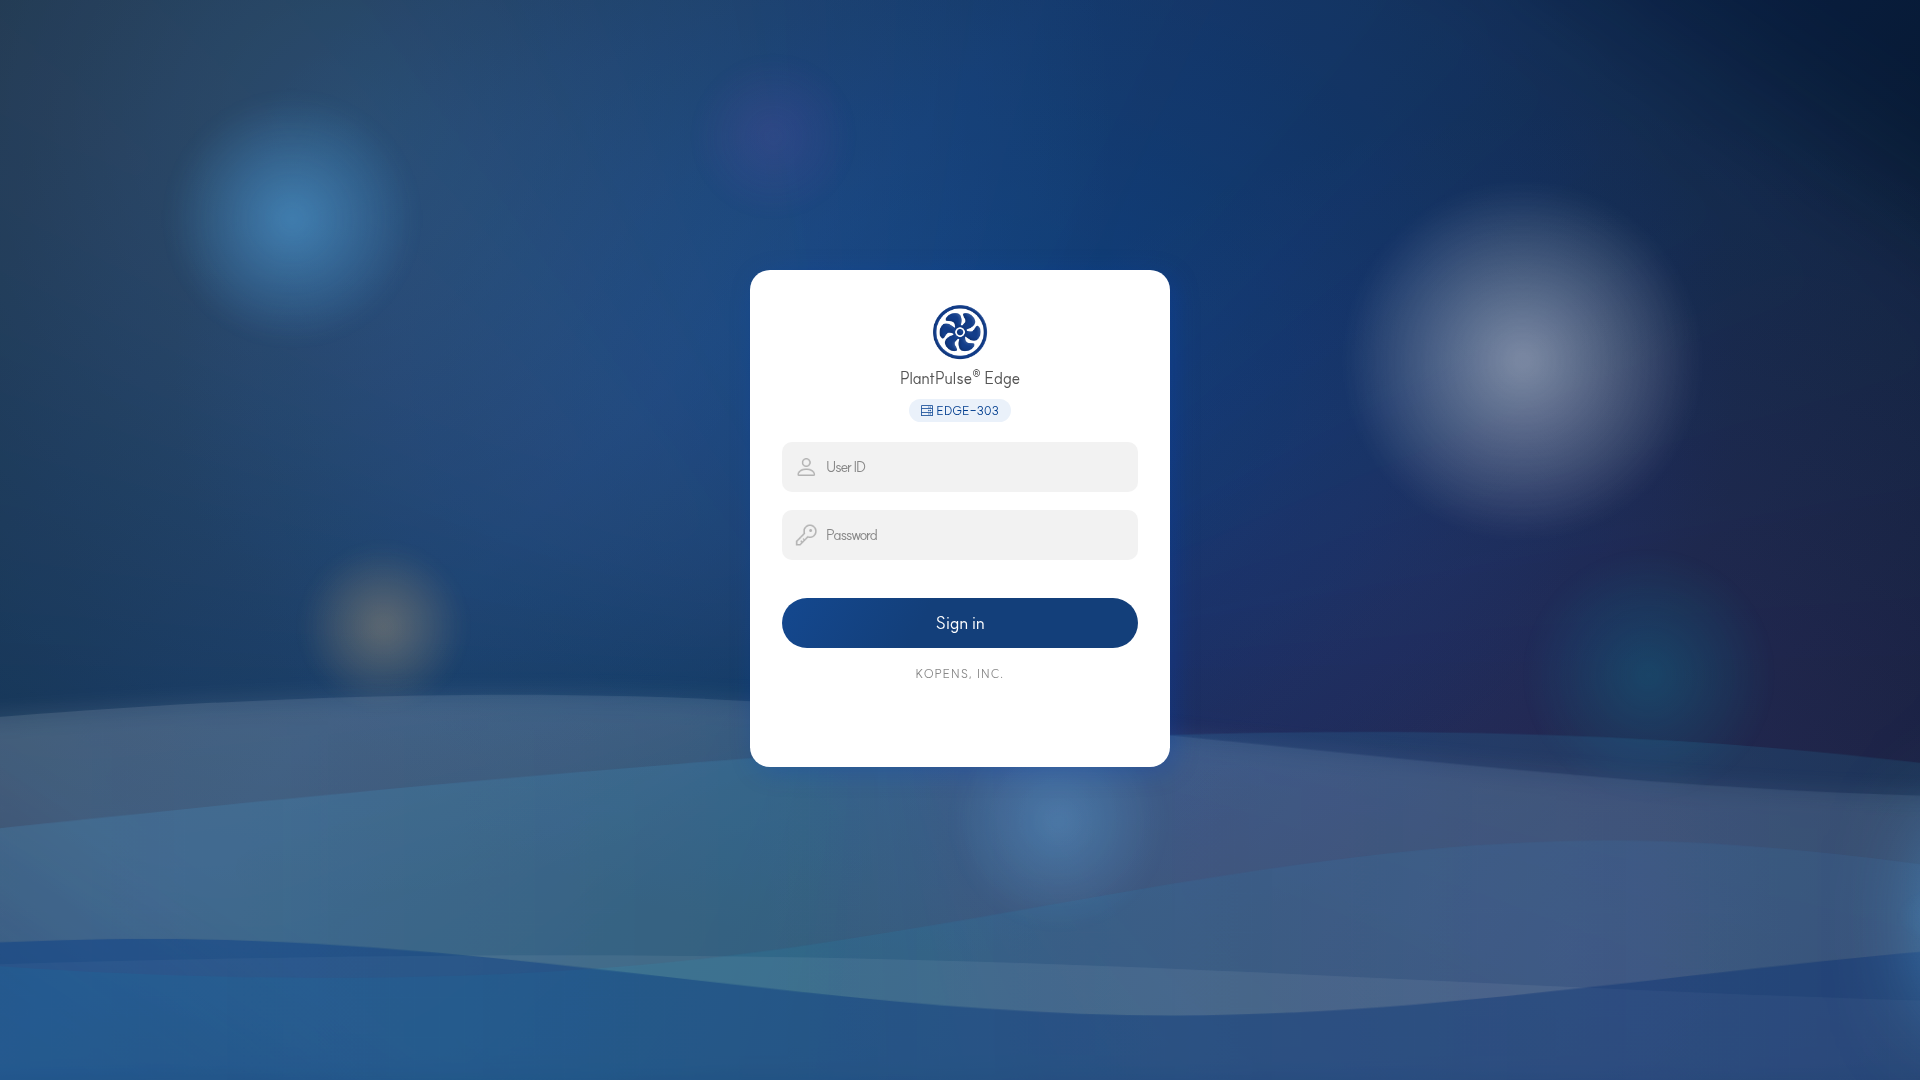
The badge below the logo is this gateway's identifier (the demo is EDGE-303).
If you are using the default password, change it now → Initial password change. If you put it off, it usually never gets done.
Step 2 — Create one connection
On the Connection screen, press + to unfold the protocol cards. Select the card for your equipment.
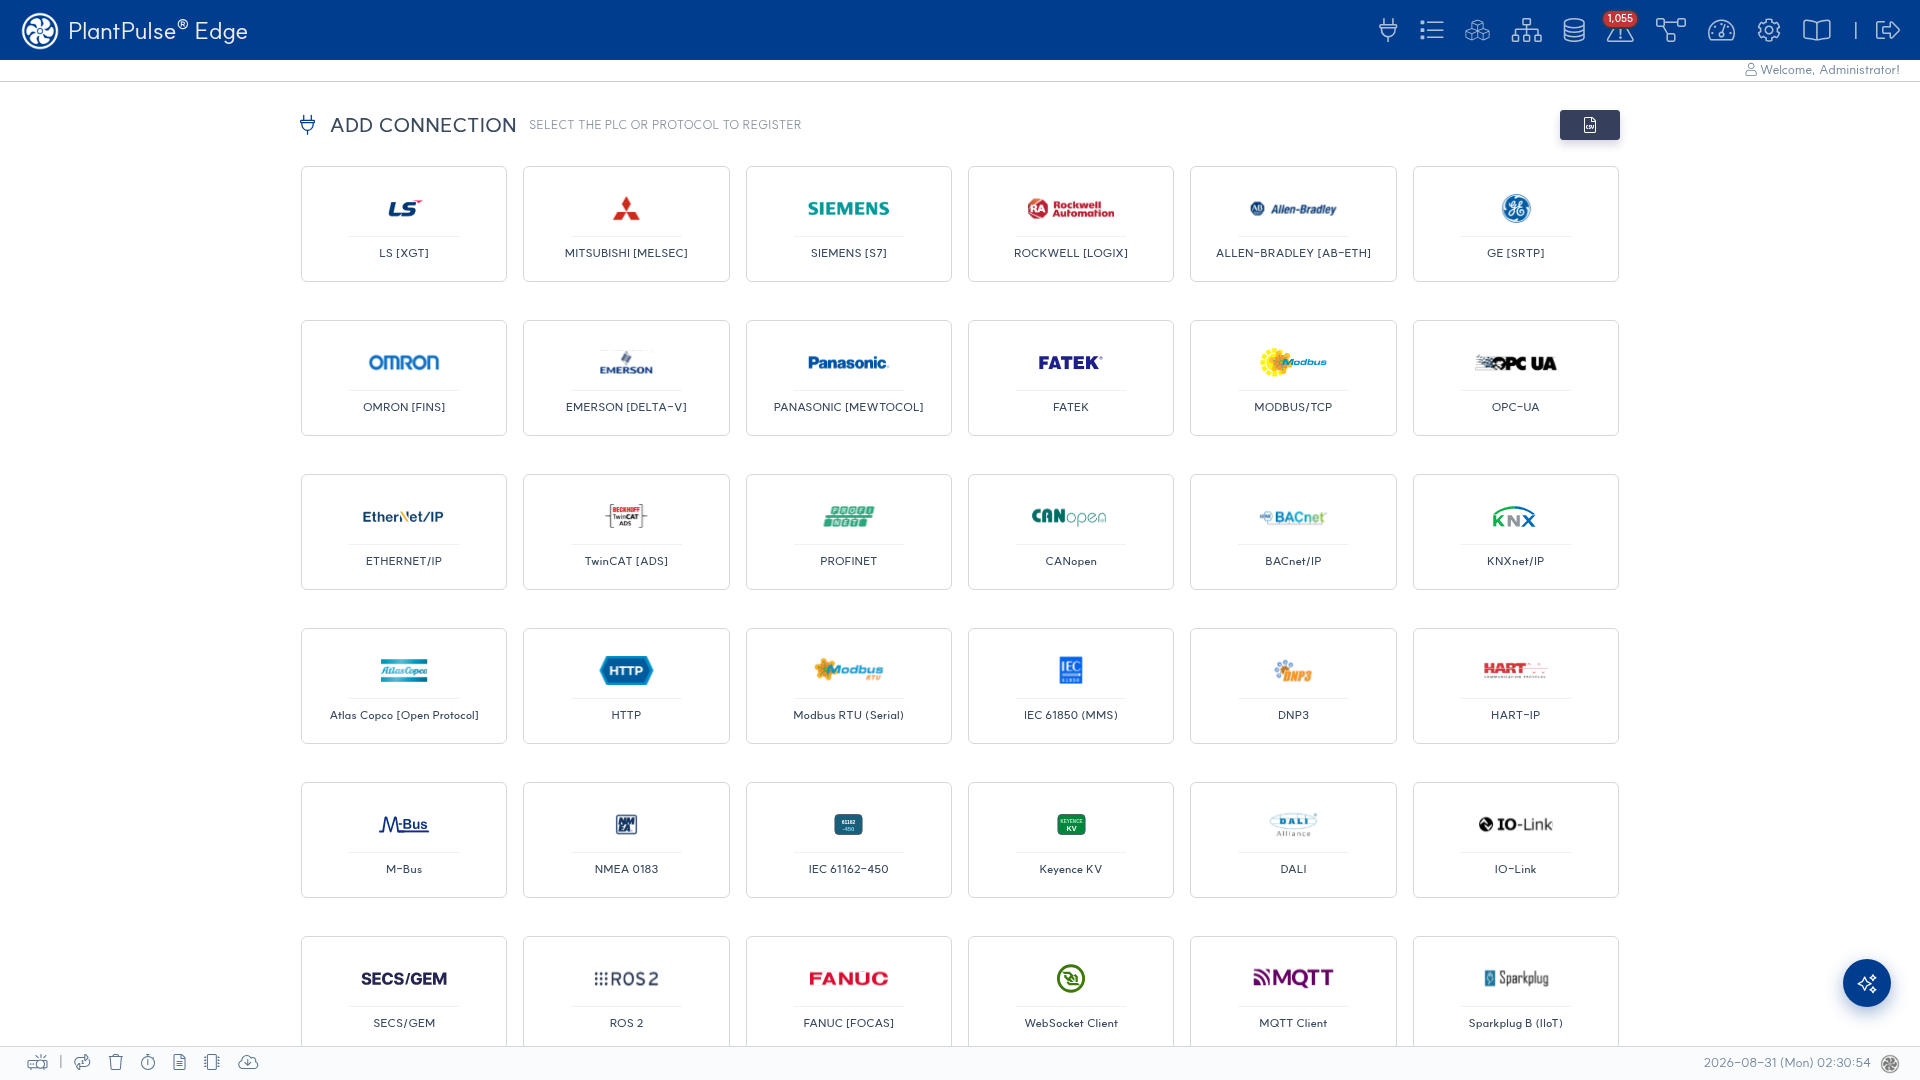
The video above is for LS XGT, and Siemens S7 · Modbus/TCP follow the same 3-tier structure:
The form has the same 3-tier structure regardless of driver.
| Tier | What you fill in |
|---|---|
| OPC info | Site ID · OPC ID · name · description |
| Protocol connection | IP · port · collection interval (ms) · collection options |
| Driver-specific options | Only this part varies by protocol |
The on-screen guidance states this clearly. Decide on a naming convention first, then register. Registration fails if any required field is empty.
Step 3 — Press Test connection
This is the first checkpoint of this tutorial. Press it before saving to verify actual connectivity.
If it fails — usually one of these three:
| Symptom | Check first |
|---|---|
| Timeout | Firewall · VLAN from gateway to PLC → Network topology |
| Connection refused | Port number, PLC access permission settings |
| Connected but no values | Driver-specific options (slave ID, etc.) → Driver reference |
If successful, save.
Step 4 — Create one tag
Register one address to read as a tag. Address notation varies by protocol —
check the plc_address rule for your driver in the Driver reference. If you get this wrong, the connection looks fine but values don't arrive.
Pick an address that changes constantly (a counter, for example) so you can verify it right away on screen. Don't register dozens of tags from the start — once one works, the rest follow the same pattern.
Step 5 — Verify values are arriving
Second checkpoint. Check the dashboard to confirm the value of the tag you just created is updating.
If you don't see values, narrow it down in this order:
- Is the connection status healthy (connection list)
- Does the tag address notation match the driver rules
- Is the collection interval unreasonably long
- What does the log show → Troubleshooting
Step 6 — Send it to the upper Platform
Once you see values on the gateway, send that value up to the upper PlantPulse Platform.
The Platform address and token are the values you entered at installation →
Initial password change — server.api_key.
When you see the same tag on the Platform screen, you're done.
What's next
| Next task | Documentation |
|---|---|
| Add remaining PLCs the same way | Protocol Guide |
| Query the collected values | Point Search |
| Need formulas or transformation | Flow |
| Pre-handoff inspection | Production Readiness |
This video is the fastest way to query collected values: