Build and deploy your first app
A tutorial for creating an app through chat and publishing it to an address that others can view. No code required.
No installation needed — you can follow along right now with the public demo.
- One Studio account → Getting started
- An AI provider connected — your administrator sets this up. How to check: Settings → AI tab, Connection Test → Settings (Admin)
There's a public demo — https://demo-studio.plantpulse.io (admin / admin123!).
The screenshots below are captured from this demo.
Step 1 — Describe in one sentence what you want to build
Type a single sentence in the large input field on the home screen. Start small.
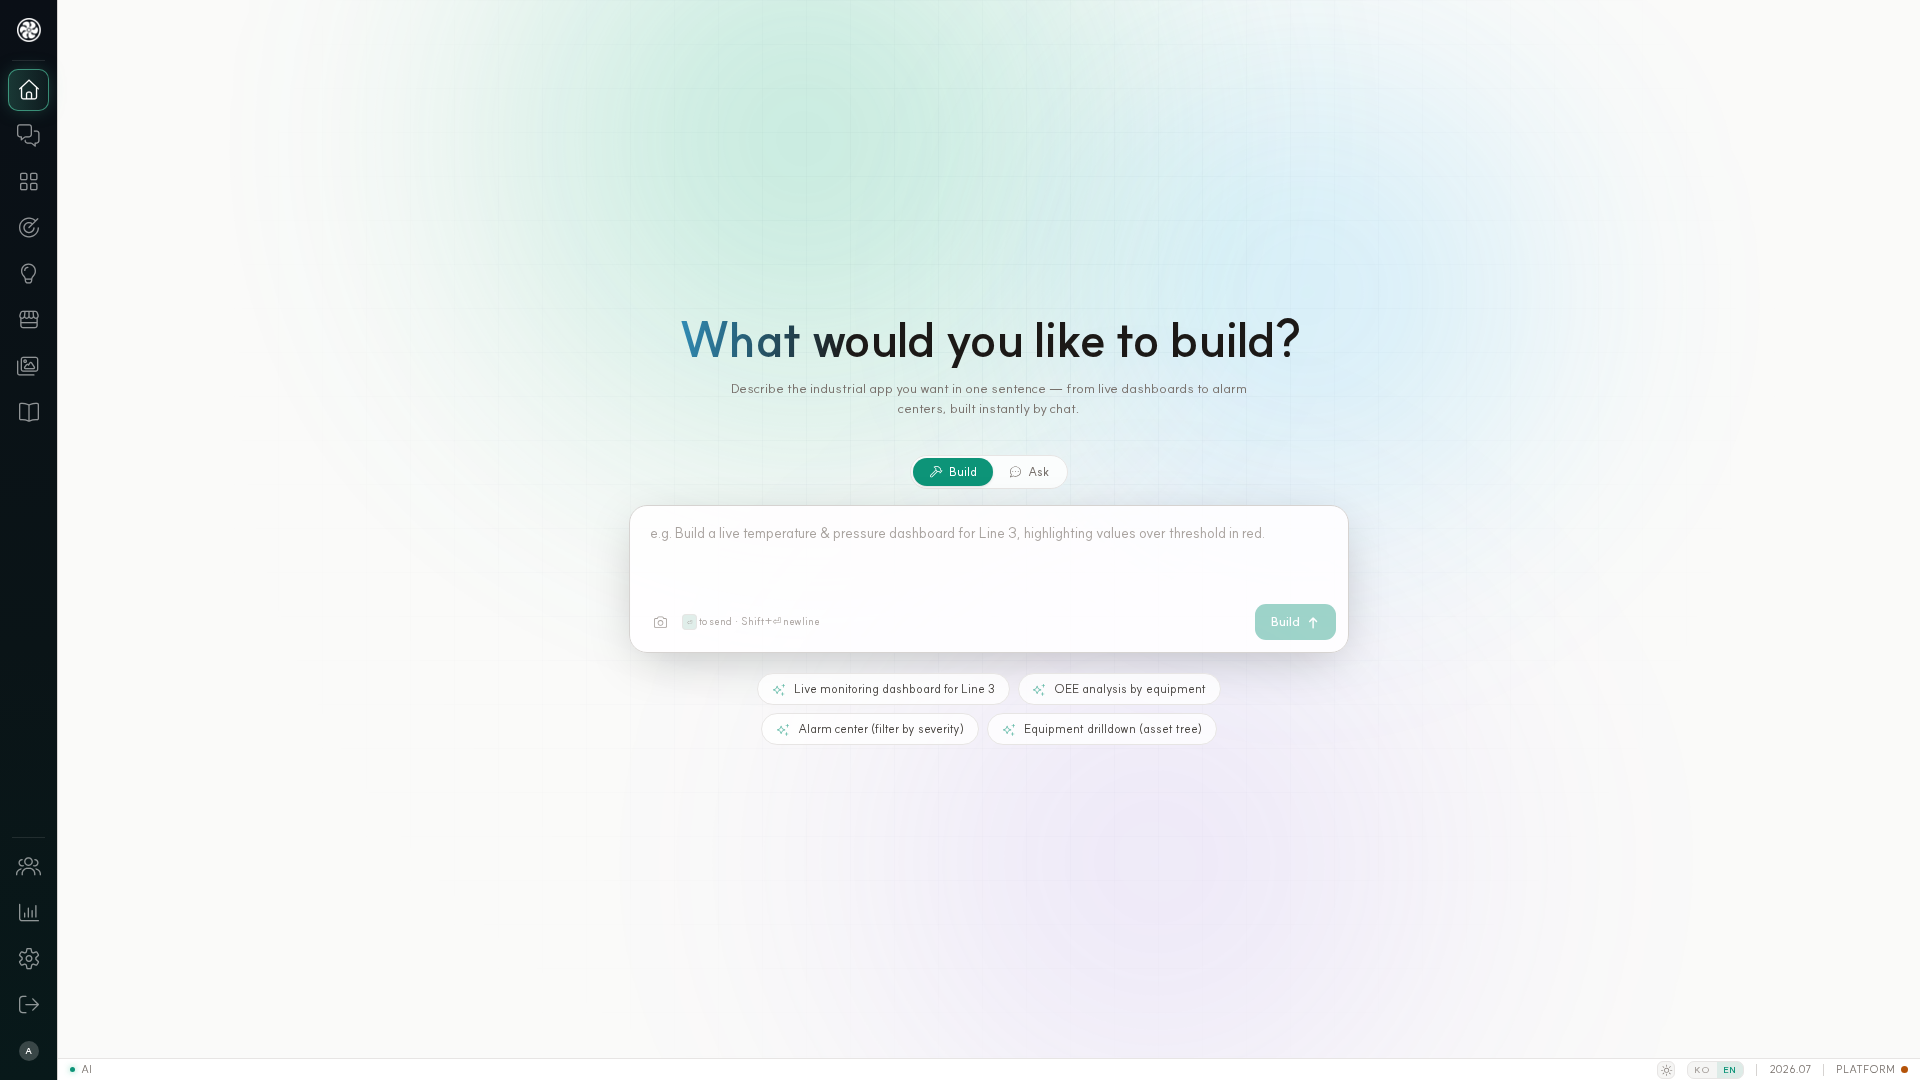
- Build — creates a screen (app). This is what this tutorial uses.
- Ask — asks questions about data without building an app → Query data through chat
If you're not sure what to write, tap the suggestion chips below the input field — Live monitoring dashboard for Line 3 · OEE analysis by equipment · Alarm center (filter by severity) ·
Equipment drilldown (asset tree) serve as examples.
Send with ⏎, line break with Shift+⏎.
"Create a screen showing equipment OEE by bar chart for today."
- One screen (don't ask for multiple screens at once)
- What data (equipment, OEE, today)
- How you want to see it (bar chart, table, cards)
Step 2 — Watch it build
When you send the message, you move straight to the builder. The left side shows AGENT CONSOLE (what the agent is doing), and the right side shows LIVE PREVIEW (the screen being built). While Generating… appears at the top, the agent is working.
The builder screen opens. Your screen draws in the center Live Preview in real time. When the instructions finish, it auto-refreshes → Develop apps in the builder.
First checkpoint — if the screen appears and data shows, you're good. If data is empty, it's usually one of these two:
| Symptom | Check |
|---|---|
| "AI provider connection failed" | Settings → AI tab, Connection Test |
| Screen appears but data is empty | Platform connection address · whether real data exists for that time period |
Step 3 — Refine it
Fix anything you don't like by talking about it. One change at a time works best.
"Change the color to navy tones." "Highlight equipment with OEE below 80% in red."
Conversation content can remain in your app code. If you need keys, ask your administrator.
Step 4 — Save and check it in the list
Your app is in the Applications (/projects) list. Each screen has its own address, so
you can share this address directly with colleagues →
Getting started — each screen has its own address.
Step 5 — Deploy
Second checkpoint. Deploy from the deployment drawer in the builder, and your app
is served under the /container/ of the same domain as Studio →
App catalog and sharing.
Preview and deployed apps use a separate listener (APPS_PORT, default 5171). If that port
is blocked in your firewall, deployment succeeds but won't load →
Environment variable reference.
Step 6 — Open it on your phone
If it's a screen for field use, verify it on your phone. When you access from a mobile device, it automatically switches to mobile layout → Field mobile.
Next steps
| What to do next | Documentation |
|---|---|
| Just ask questions about data | Query data through chat |
| Get alerts when something goes wrong | Watchers and alarms |
| Teach the AI your site's rules | Field skills |